#nofilterneeded Bridal Beauty
- Lusine Galadjian
- Jan 11, 2017
- 2 min read

Welcome back beauties! On this #weddingwednesday, I'd like to talk directly to brides that have had very reasonable expectations of their bridal beauty squad and instead of those expectations being met, they have found themselves underwhelmed and oftentimes unrecognizable!
I take great pride in not having to hide my brides under countless caked on layers or to be an artist known for presenting images that are unnaturally edited - and not in likeness with my actual work. I am known for my less is more approach to flawless faces, and I have to attribute that to my investment in education, technique, a passion for pigments and powerful products and formulas!
I'm writing this post not to boast, but to speak to the true power of artistry, makeup, and to let brides and beauty lovers everywhere know that pores can be pretty - and yes...even prettier with a badass primer!
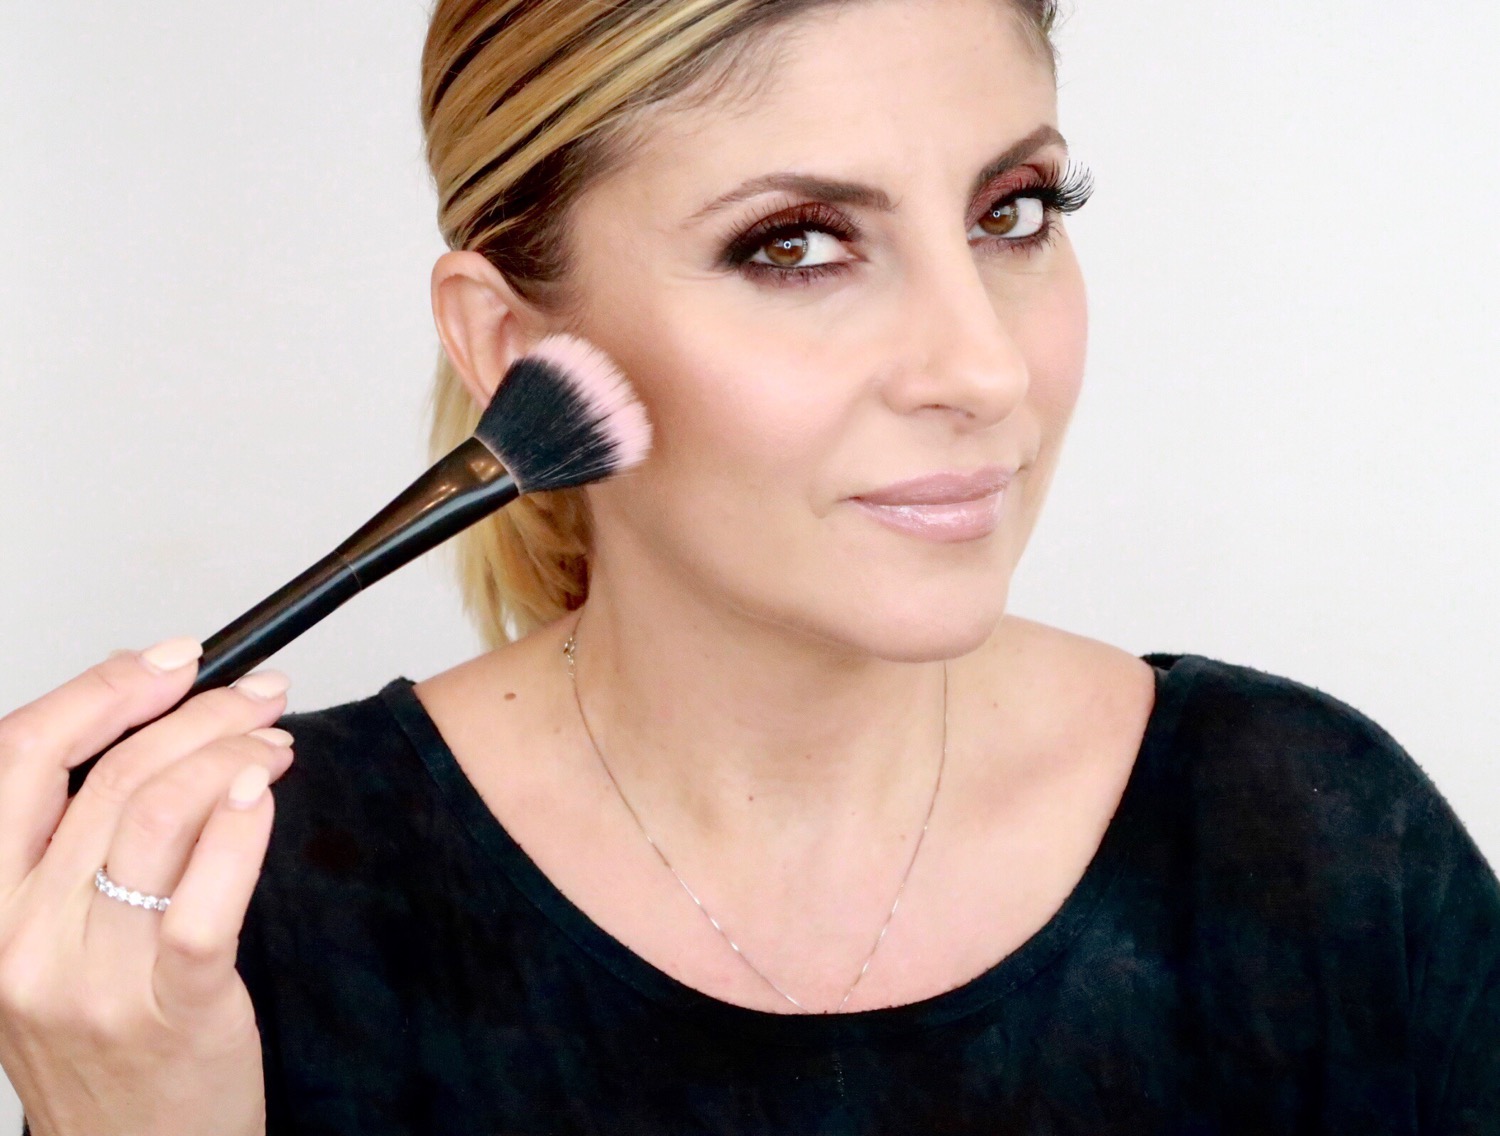
10 Steps to #nofilterneeded Bridal Beauty
Below are the technical steps executed to achieve this look - please head to my instagram to see the specific products I used and shop these beloved beauty brands!
Prime skin and apply foundation and concealer for the appropriate skin type using a beauty blender. Make sure the beauty blender is damp for a more natural looking application.
Set the skin with a translucent powder for longer and even wear.
Contour the areas of the face needing dimension - be sure to use a powder that is two shades darker than the skin tone, and blend well making sure it's a cool color so that it will present a more natural shadow-like effect.
Apply primer to the entire lid and set with a neutral shadow that matches the skin tone.
Apply warm neutral shadow that is two shades darker than the skin to the crease using a crease brush, blend the shadow up toward the end of the tail of the brow to lift the eye.
Line the entire top of the lash line winging it out slightly, then continue with the inner rim of the eyes, blending the outer bottom lash line with the same crease color using a small pencil brush. To soften the line blend over it with a light warm brown shadow using a small blending brush.
Apply false lashes and two coats of mascara. Don't forget to the curl lashes in order to open up the eyes - this will also provide support to the false lashes.
Apply blush to the apples of the cheeks and blend up and out towards the ears.
Highlight the cheekbones using a powder highlighter.
Complete the look by lining the lips and filling them in completely, then apply lipstick to the center of the lips and blend it out - this will create a more natural look that's not too overdone. For a more glossy and fuller looking pout, apply a clear gloss just to the center of both lips.
Thanks for reading, and as always, please leave any questions and comments below and be sure to tag me in your posts if you try any of these products or techniques! xoxo @makeupbylusine
Comments